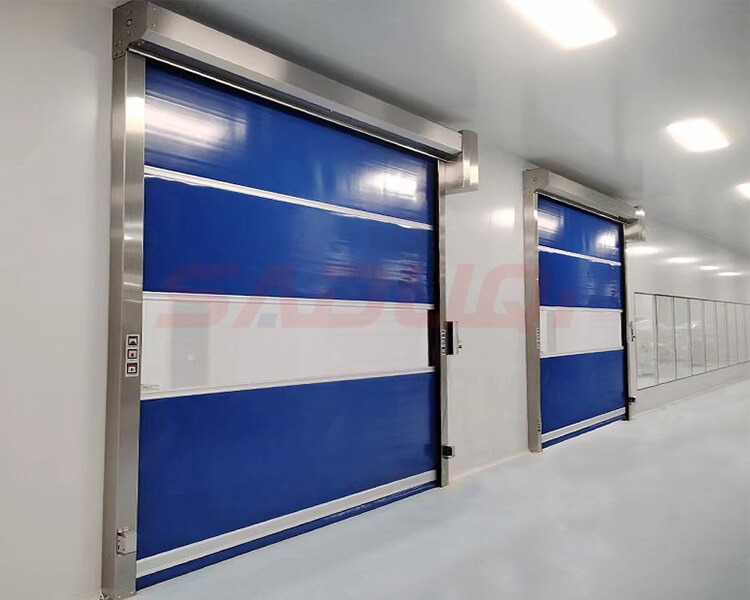
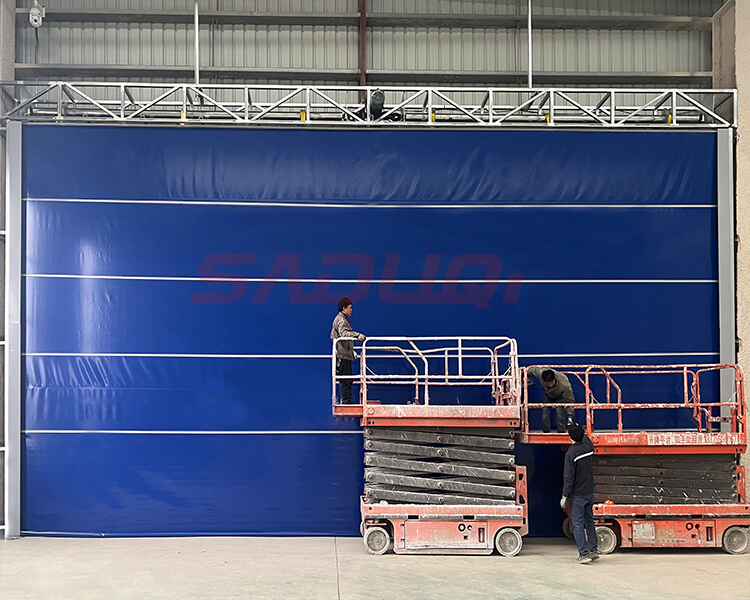
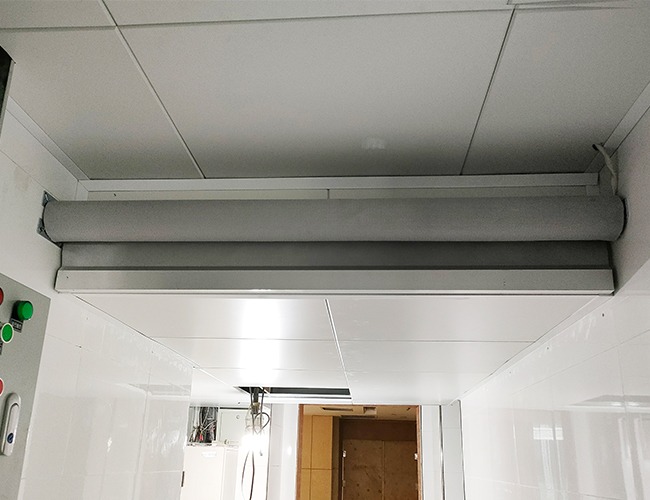
The Complete Process of Installing a PVC High Speed Door
Blog 2026-09-11
It is essential that PVC high speed doors are installed in accordance with the specifications, as this determines not only the door’s proper operation but also whether it can provide safety protection in the event of an emergency.
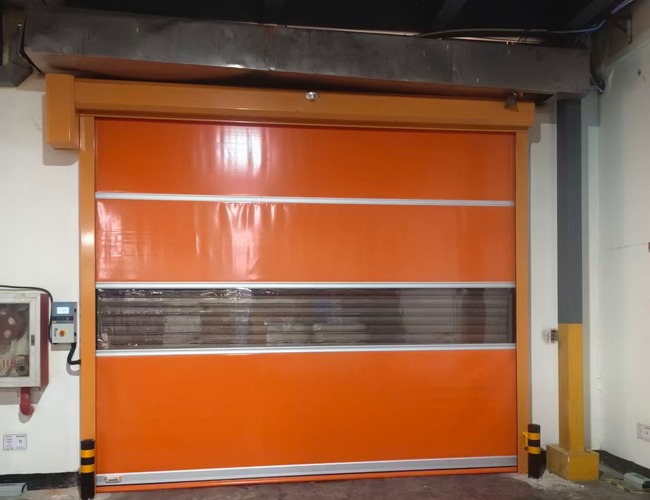
Today, we’re going to take a look at how to install PVC high-speed doors correctly.
Preliminary Survey and Provision of Opening
Verification of Opening Dimensions
Measure the actual width and height of the opening, distinguishing between the clear opening and the outer frame dimensions; the left and right jambs and the lintel of the door opening must be vertical and horizontal. If the wall is sloping by more than 10 mm, it must be levelled in advance; otherwise, the track may jam or the seal may allow draughts once installation is complete.
Requirements for Door Opening Preparation
Recesses must be provided in both side walls for the installation of fixing anchors (steel plates / expansion bolts with a load-bearing capacity of ≥800 kg). Hollow bricks and lightweight partition walls must be reinforced with square tubes; it is strictly prohibited to fix the track directly using expansion bolts.
Space must be reserved above the door lintel for the installation of the roller housing: a height of ≥450 mm for built-in motors and ≥600 mm for external motors; wiring ducts for the control box and a dedicated 220 V power supply circuit must be provided on the sides of the door opening.
The floor must be level with no unevenness; where the floor level differs by more than 5 cm, a ramp must be constructed or wear-resistant soft bottom edges must be fitted to compensate for the difference.
Installation of Frame Rails
Vertical Alignment Control
The guide rails on both sides must be plumb; the parallelism error between the left and right rails must be ≤2 mm, and the width must be consistent at both ends; guide rail fixing bolts must be installed in groups every 30 cm, with additional bolts at the top and bottom ends for reinforcement.
Horizontal Alignment of Door Head Roller Brackets
The brackets at both ends of the roller must be at the same height, with a horizontal deviation of ≤1 mm; the roller must rotate without any misalignment to prevent the pvc high speed door curtain from drifting to the left or right and rubbing against the guide rails.
Pre-installation of Seals
Double-layer dust-proof brushes are pre-fitted to the inner side of the tracks; the brushes must be free from breaks or curled edges. A top sealing strip is fitted to the lintel to minimise draughts and prevent insects from entering.
Metal Frame
Burrs at cut edges are ground down and the frame is sprayed with anti-rust paint; damaged areas on galvanised components are touched up with paint to prevent corrosion.
Roller Shutter and Curtain Assembly
The surface of the roller shaft must be clean and free of any protruding welding slag to prevent the PVC door curtain from being cut; the centre of the door curtain must be aligned with the centreline of the roller shaft, with equal excess fabric on both sides.
The bolts securing the door curtain clamps must be tightened evenly and consistently; if one side is too tight, it may cause the door curtain to rise or lower at an angle, resulting in creasing or tearing.
Installation of the safety airbag at the bottom of the door curtain: ensure that the airbag tubing is free from kinks or crushing, that the joints are securely sealed, and that the bottom edge of the airbag is 5–10 mm above the floor; it must not rest flush against the floor, as this would prevent it from triggering and rebounding if it encounters an obstacle.
The door curtain should be tensioned moderately; it must not be pulled too tight, as PVC is prone to tearing due to thermal expansion in high-temperature environments; for low-temperature applications, allow a small amount of expansion clearance.
Installation of Motors and Electrical Controls
Independent Power Supply Circuit
Power is supplied via a dedicated circuit breaker; sharing the circuit with high-power equipment is strictly prohibited. The voltage must be a stable 220V; the earth protection wire must be securely connected to the motor and the control box to prevent electric shock.
Motor Limit Switch Calibration
The upper and lower mechanical limit switches must not come into full contact with the roller; a buffer travel must be allowed. Dual protection comprising soft and hard limit switches is provided to prevent the door curtain from striking the top or bottom of the frame.
Installation of the Electrical Control Box
Install at a height of 1.3–1.5 m, away from spray, water vapour and oil splashes; in damp workshops, fit the electrical control box with a waterproof and rainproof enclosure, and wrap the cable joints with waterproof tape.
Security Systems
Safety Light Curtain Installation
The light curtain is aligned left and right, with no offset between the transmitter and receiver; it provides full coverage at a height of 300–1,200 mm above the ground; the cable harness is protected by corrugated tubing to prevent damage from forklift contact.
Ground-mounted Magnetic Loops
Position the ground-mounted magnetic loops away from areas with dense reinforcement bars; ensure the loops are compacted and encapsulated with resin.
Radar
Position the radar so that its detection angle avoids shelving and mobile equipment to prevent false triggers.
Lifting and Commissioning Stage
Conduct a manual test run with the door unloaded; the roller shaft should move smoothly without jamming or unusual noises, and the track should not produce any friction-related noises. Should the door curtain become misaligned, immediately realign it to the centre.
Automatic rebound test: During the lowering process, when the door obstructs the light curtain or comes into contact with the bottom airbag, the door must rise immediately; if the rebound function fails, the door must not be put into service.
Adjustment of lifting speed: Standard opening speed is 0.6–1.2 m/s; reduce the speed appropriately for cold store doors. The closing delay should be adjusted according to footfall in the workshop to avoid frequent opening and closing, which can cause wear and tear to the door curtain.
Check the fit between the door curtain and the brush strips; fine-tune the track spacing where gaps allow air to escape. Ensure the door curtain does not scrape against the door frame or the corners of the tracks.
Final Sealing and Cleaning
Apply a neutral weather-resistant sealant to the gaps between the tracks, the door header and the walls to ensure waterproofing and dustproofing; use a specialised low-temperature sealant for cold store doors.
Sand down any excess cut edges on the door curtain to a smooth finish to prevent cracking; do not allow sharp or hard objects to scratch the PVC surface.
Clear metal debris and dust from the tracks to prevent wear and tear on the door curtain during operation; tidy up and secure any excess wiring harnesses so that they do not hang loose or drag along the floor.